Check out what we found! (Drum roll please...)
Layer 1: 90s linoleum and floor board sheets
 White linoleum (that of course never stayed white), followed by a layer of floor board that was HEAVILY stapled to the floor (I mean like every 2-3 inches). I guess that's more like layer 1 AND 2. Moving on...
Layer 2: 70s linoleum

 The craziest rust/red/orange/cream/dijon mustard/brown floor you've ever seen! Father said it made awful flooring, but might make a nice skirt. I offered to make him one. He declined.
Layer 3: 50s-60s black & white checkered tile
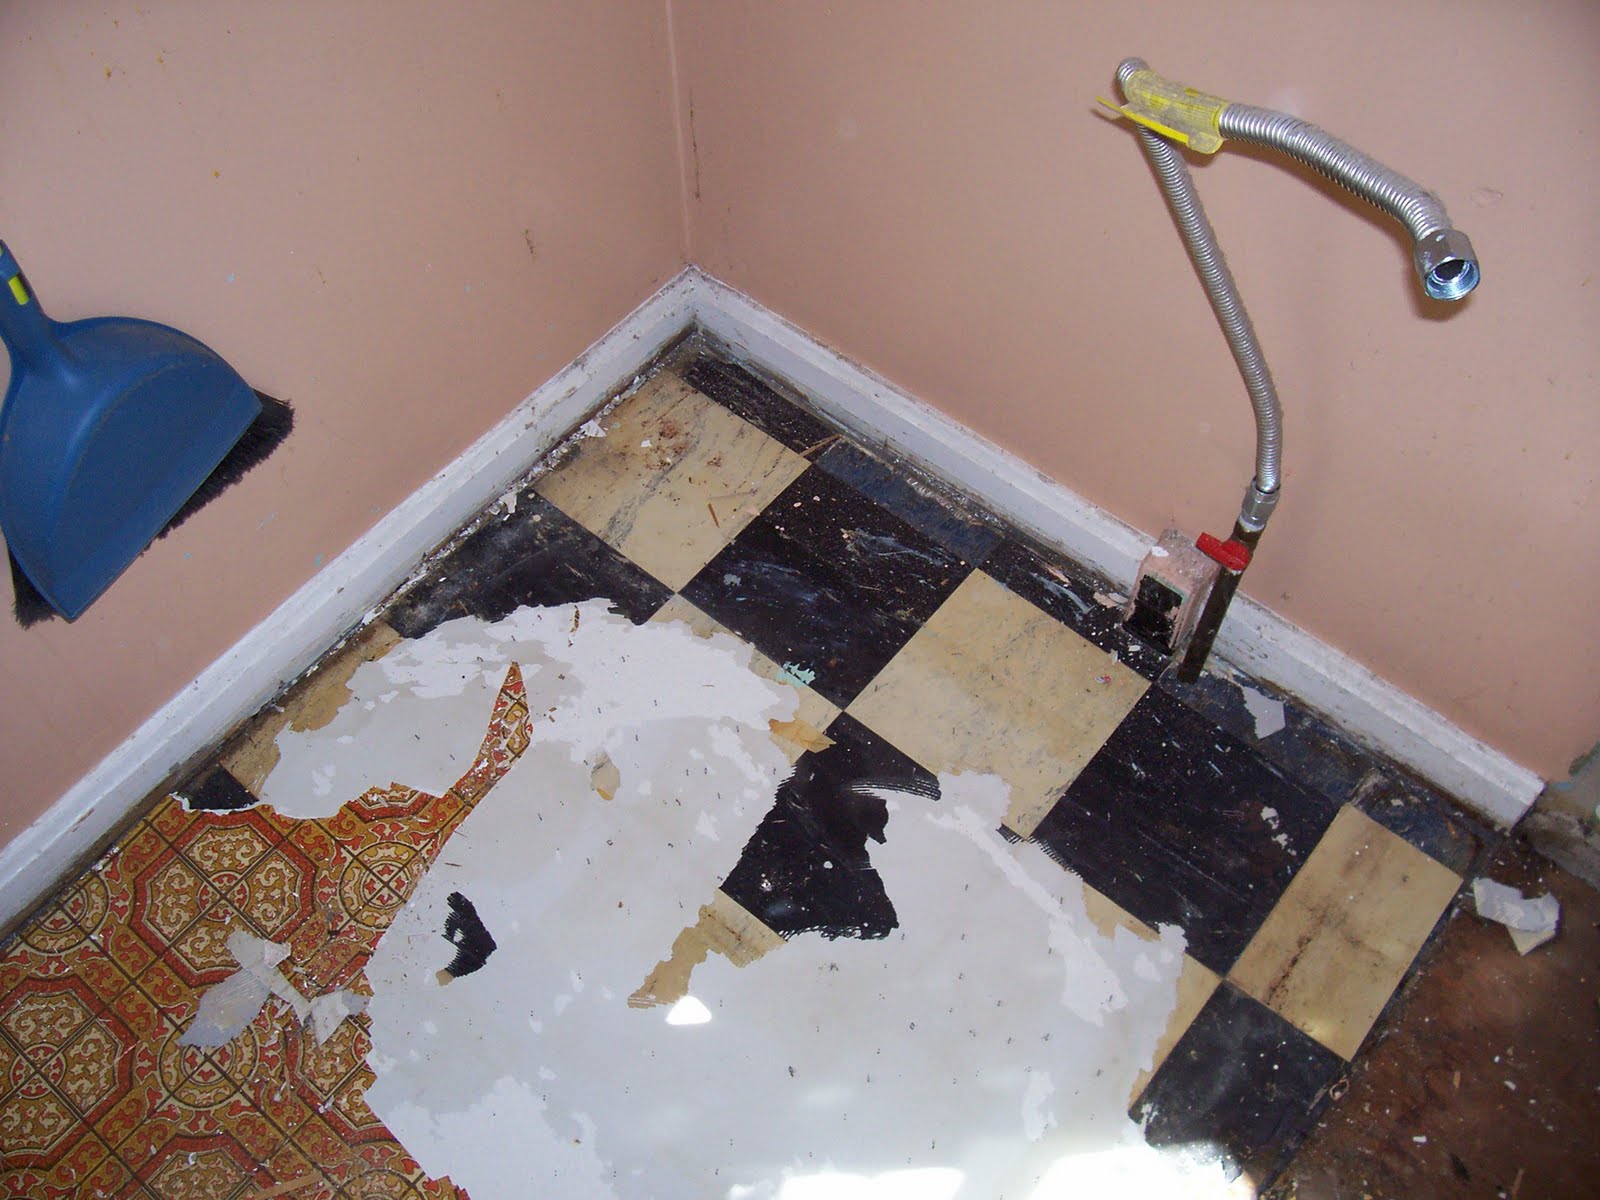 Or at least I think it was white. It's pretty yellowed now. This place used to have a diner/poodle skirt/jukebox floor? Swell!
Layer 4: Weird blue stuff
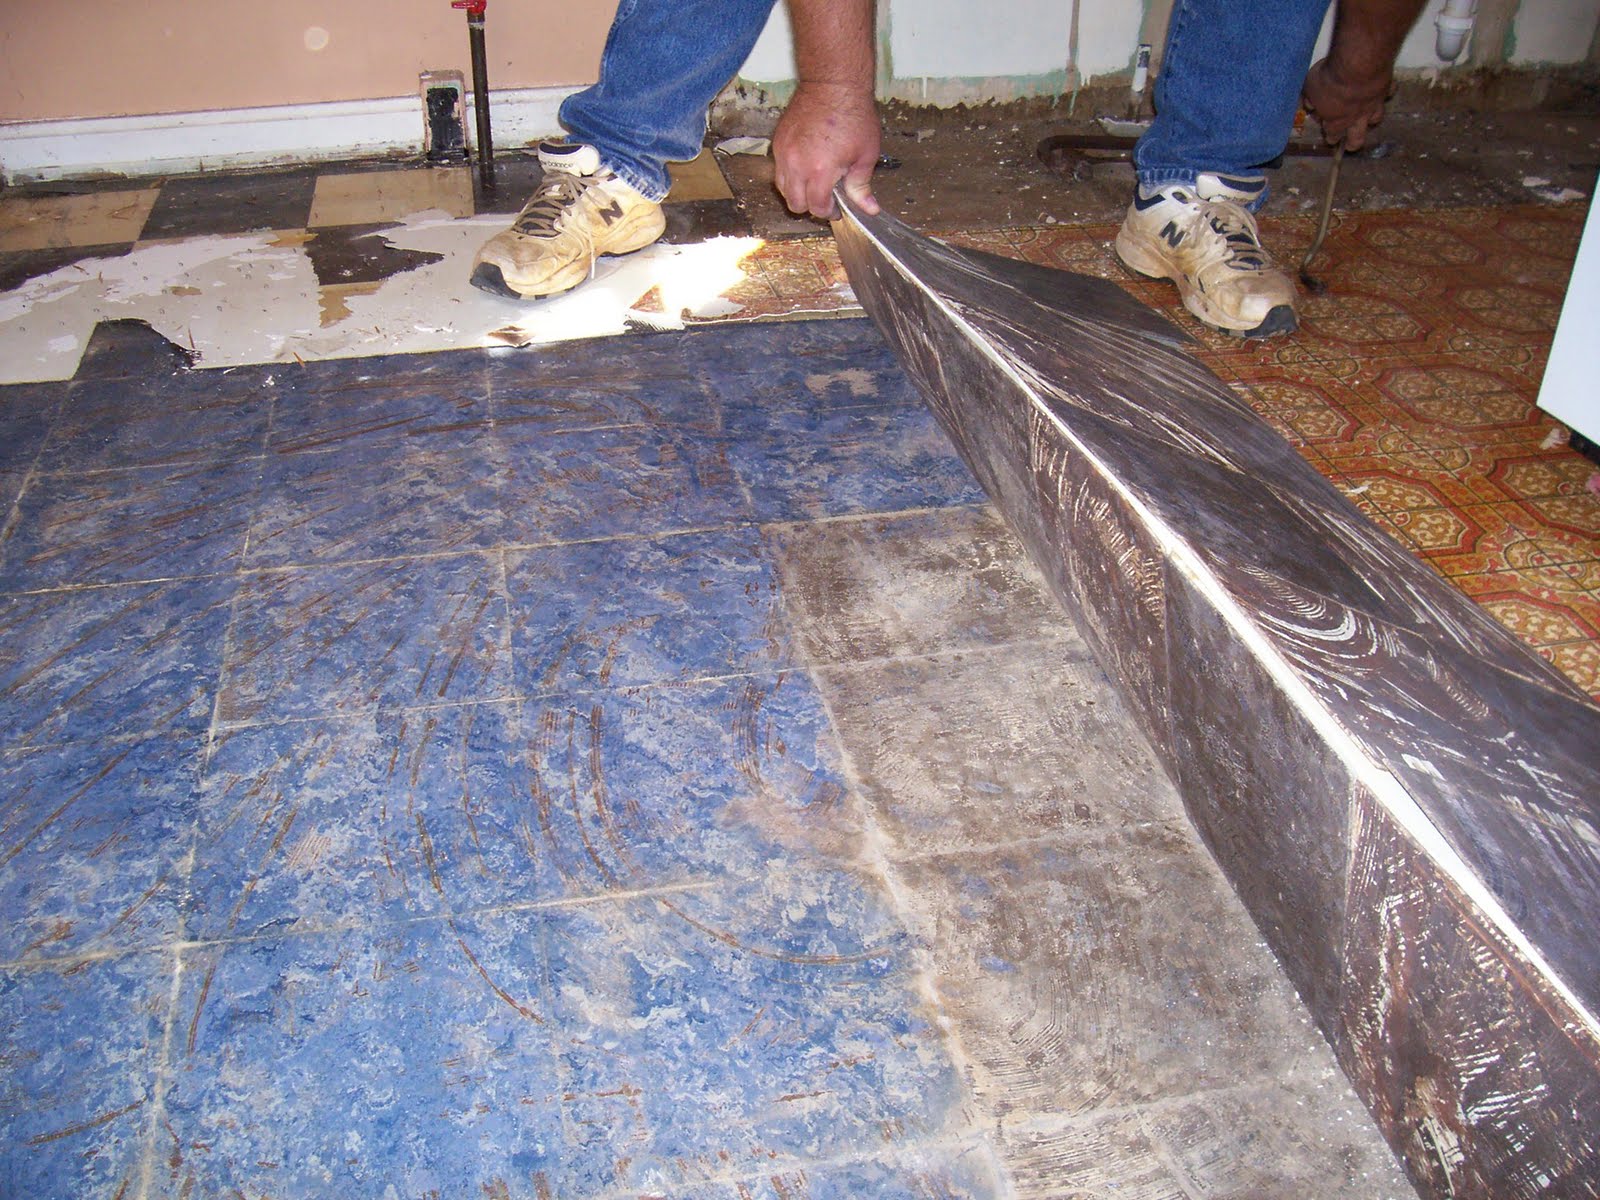 This last layer was a swirl of different blues resembling marble. Strange stuff. A little like early linoleum, a little like tar paper, a lot like yuck.
Layer 5: The original sub floor sheets nailed to the diagonal floor slats
 If we go any further we'll be in the basement. We better stop here.
It's funny, but the looks are pretty consistent with a makeover every 15 years: 1949, 1964, 1979, and 1994. Who knows, maybe this house had other layers that have since been removed. Maybe not. But it sounded good.
The sub floor is in surprisingly good shape, so we will not have to replace any of it.
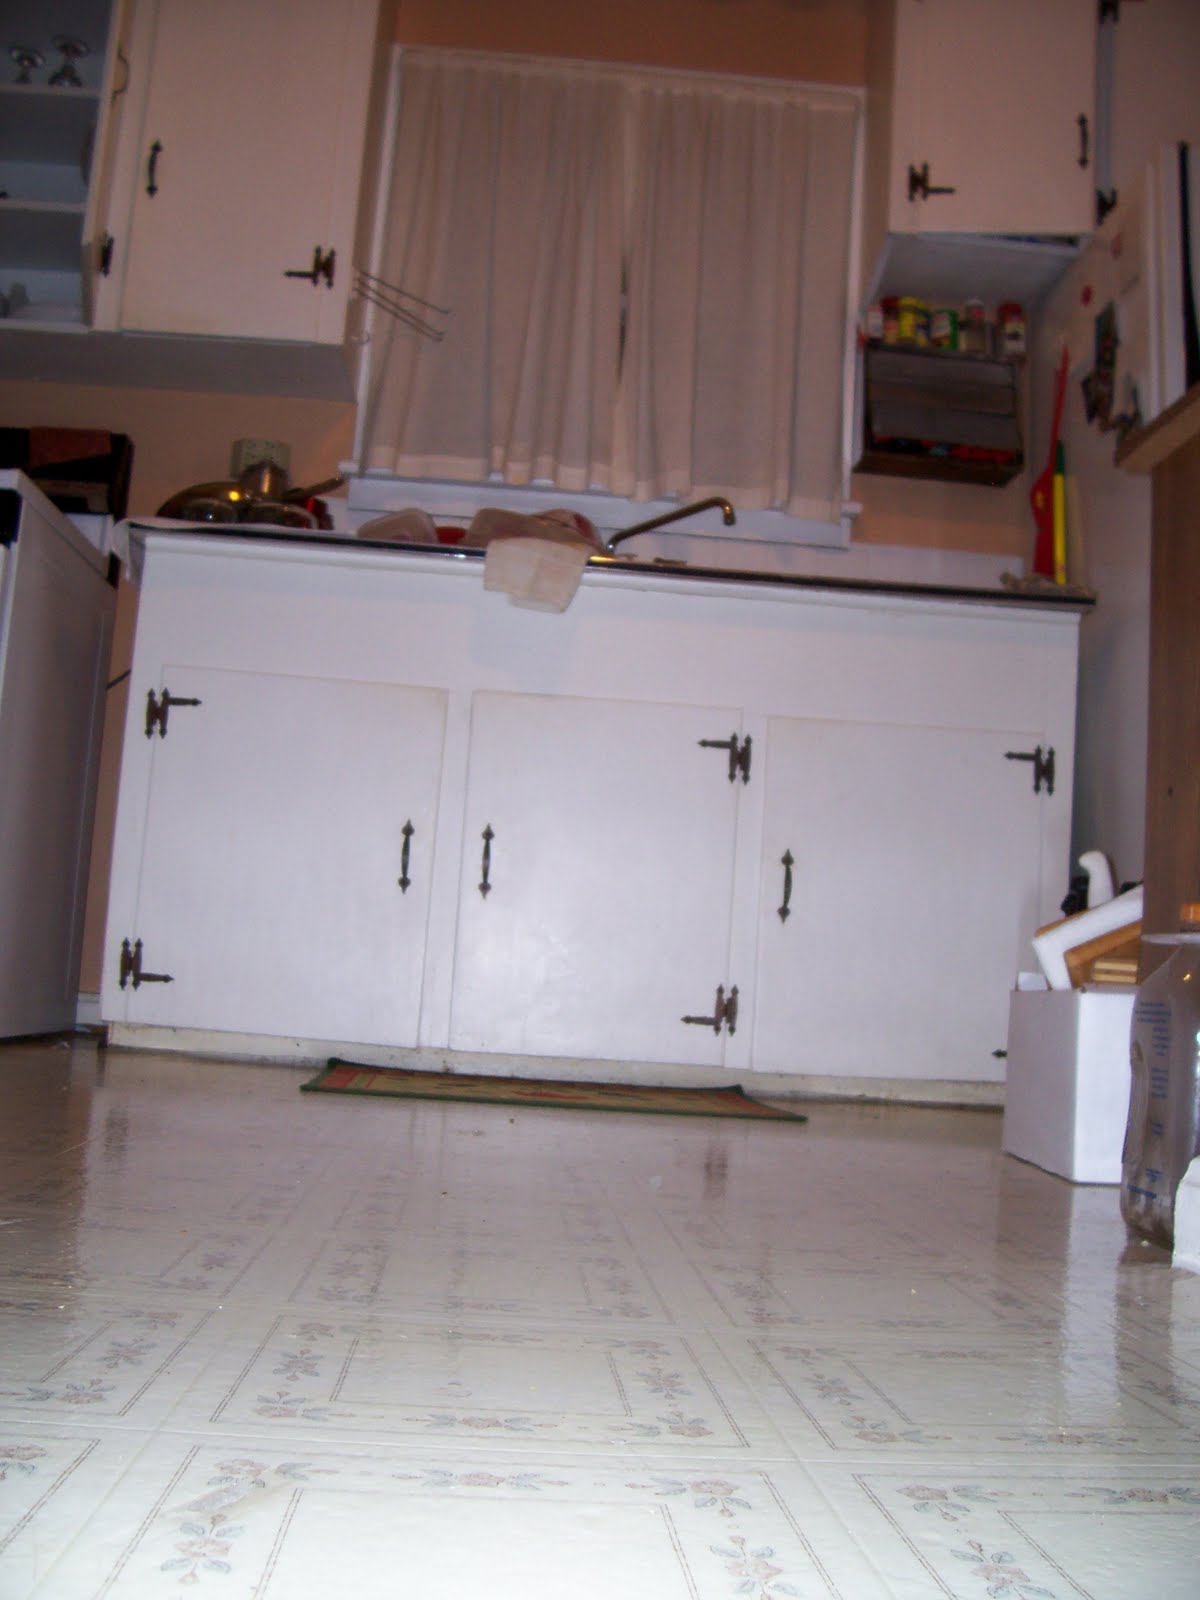
The kitchen is looking more and more like a big empty room, and I am ready for the next phase.


